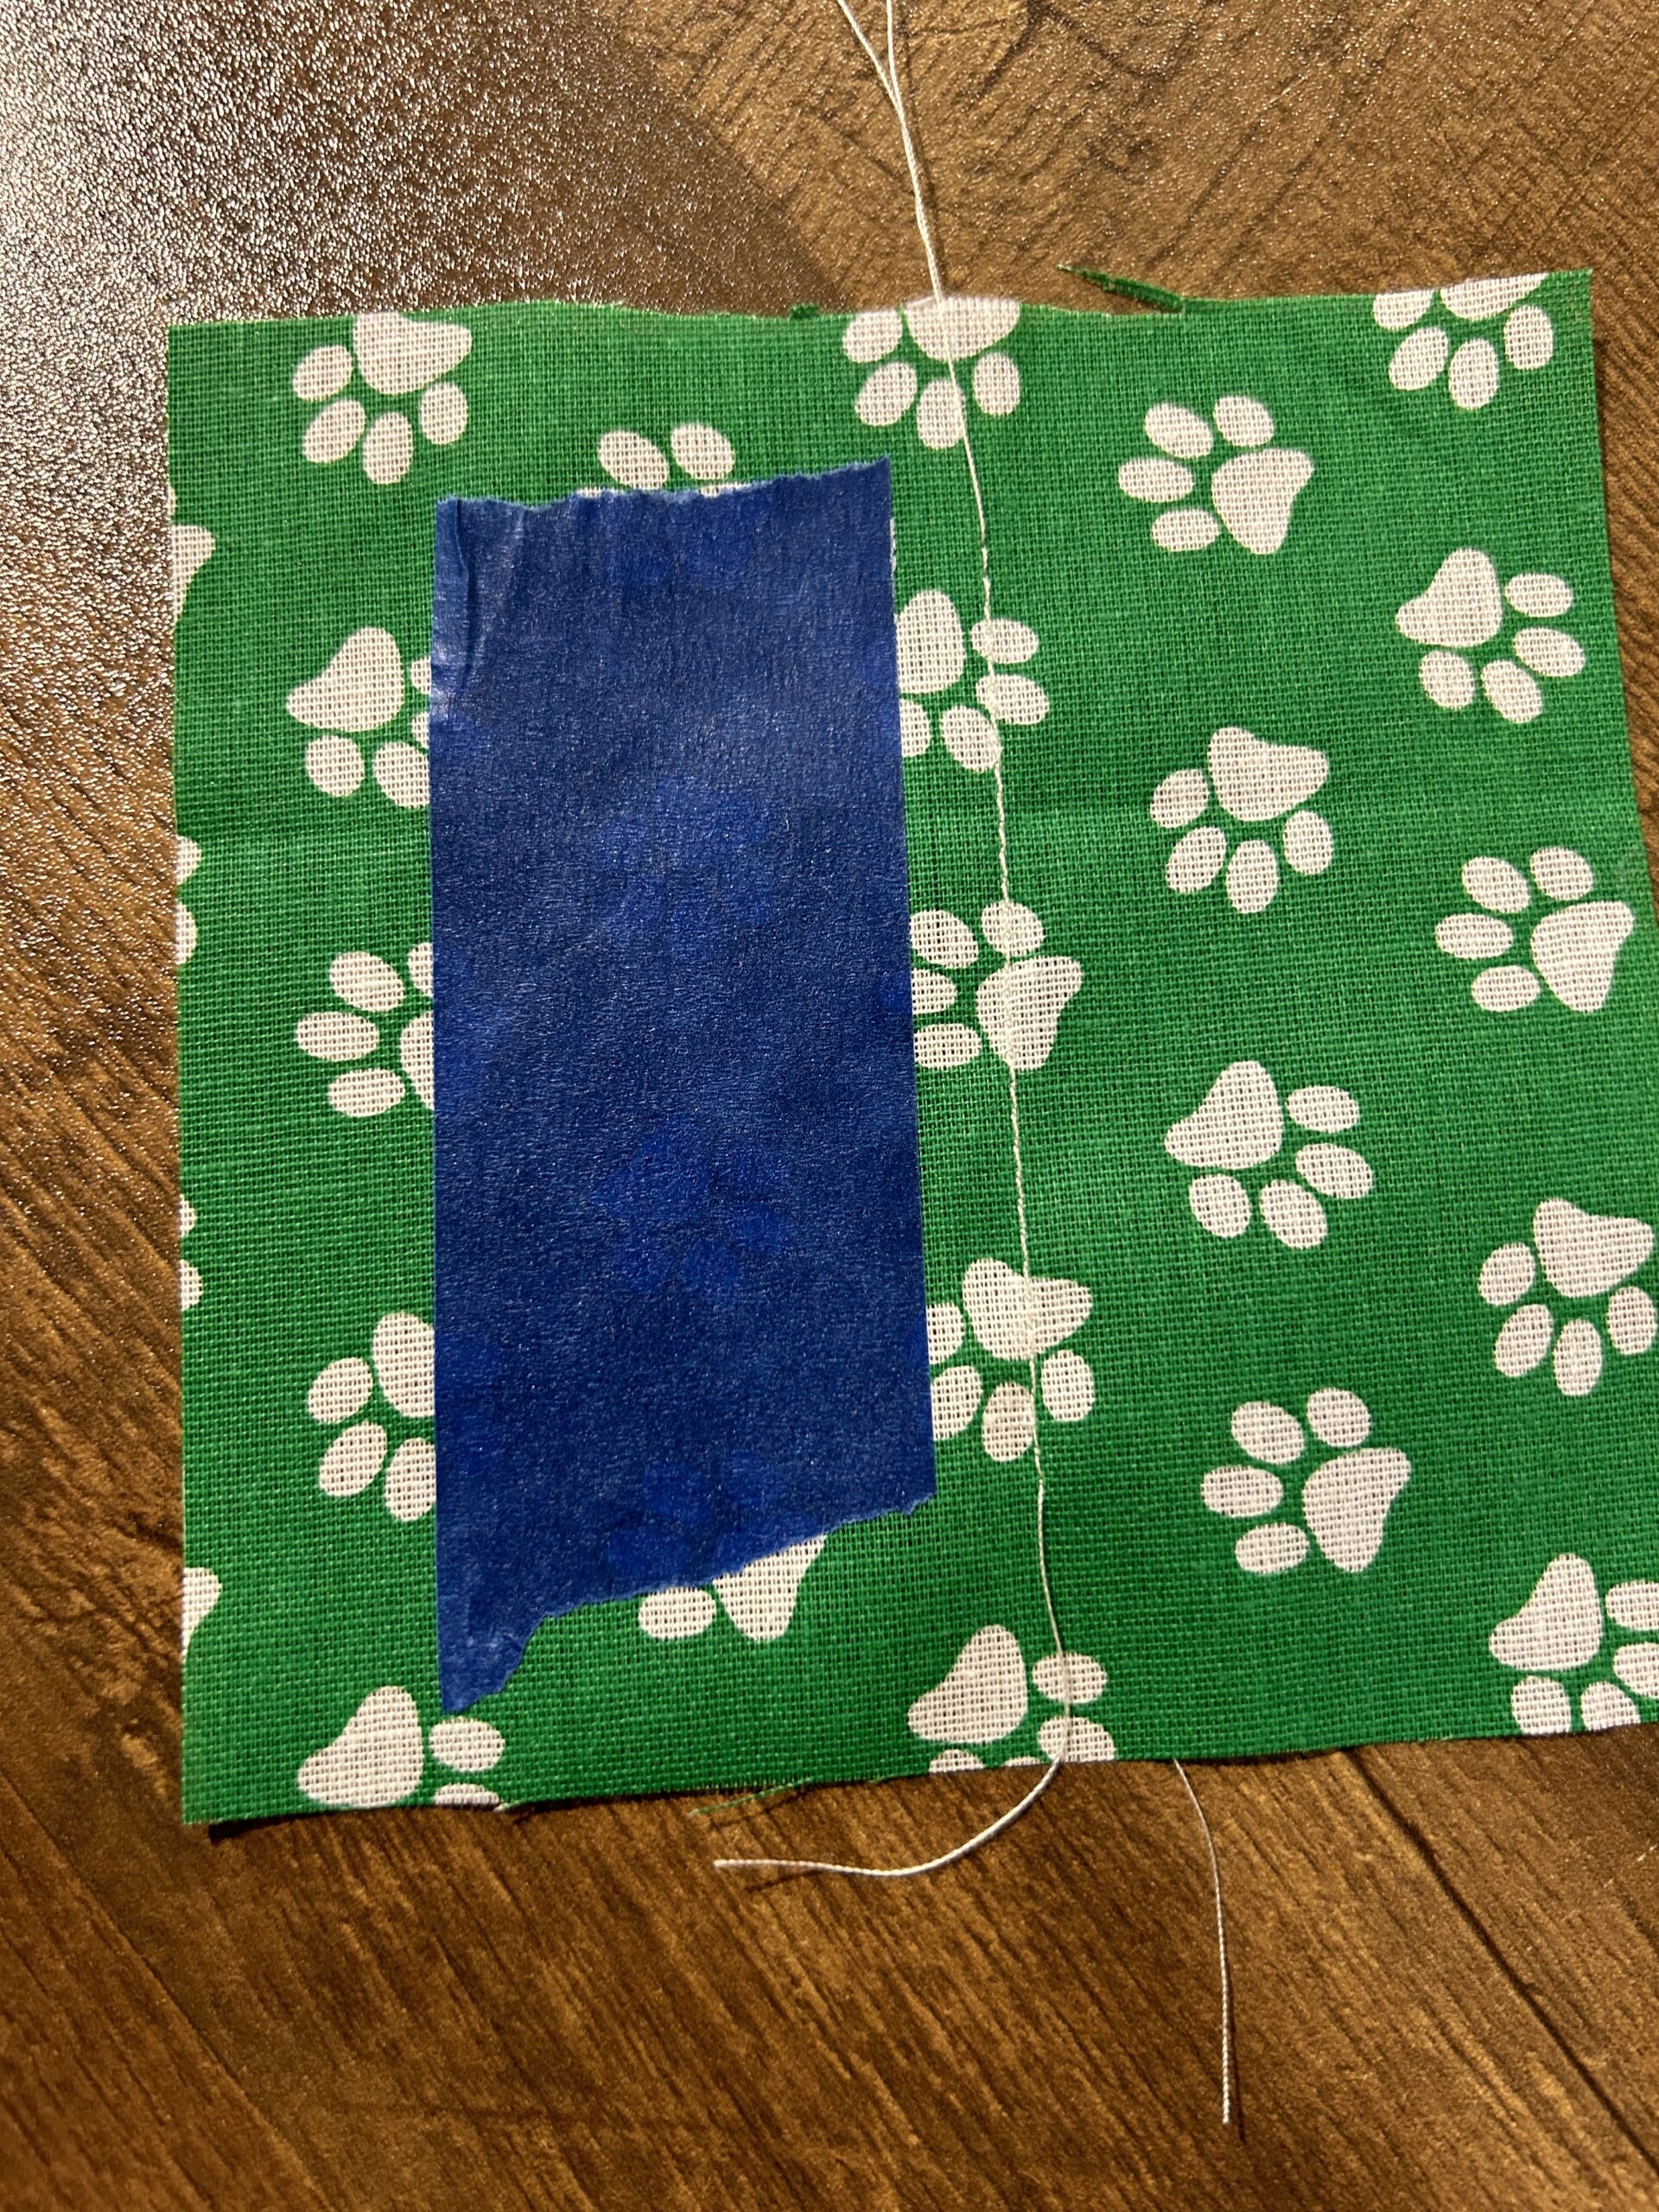
This tip is the first real tool I learned when sewing! Painters tape!
Making straight lines with the sewing machine is a practice that takes time. The first baby quilt I made was all straight lines and my sewing machine doesn’t have a very big guide.
I watched quite a few YouTube videos and in all of them they talk about doing diagonal and swirl lines and shapes to decorate them. Then I found this video! https://www.youtube.com/watch?v=fe37aSedgTY
In this video they break down how to make an entire baby quilt from start to finish. When they get to the end they do the quilt lines on top of the blanket and that’s where the tape comes in.
Using painters tape you can create a guide you can stick directly to the fabric. Now you don’t stitch over the painters tape but use it as a guide to put the foot of your sewing machine against/on.
So if you are doing a line you don’t want to put the tape over where you want to sew your line but to the right or left of the line you want to sew, like this:

As you sew, keep the foot lined up against the tape to keep a straight line 🙂
Once you’re done it should look like this and you can simply remove the painters tape 🙂

While the tutorial I found this trick in used it to make diagonal lines in a quilt I have since used it on a couple of projects where I needed to make sure my lines where straight – especially when I am top stitching a project. Getting close the edge is already hard but then not having any guide to keep the line straight can be very difficult when your first starting out.
This painters tape method has allowed me to really fine tune my sewing skills and help me bulky projects where I have to really hold the fabric together while sewing.
Hope this trick helps you out! Thanks! PWJ!
